Configuring a Freight Carrier in KommerceServer
Once you have exported the Ship Via and carrier codes from the back office into KommerceServer using the KS_FREIGHT export API, you will need to setup the carriers that you will be using in your store. The carrier definition determines the manner in which freight will be calculated and how packages will be tracked on the carrier's website.
Be sure that the carrier codes that you define match a carrier code that was sent in the KS_FREIGHT export API.
Perform the following steps to configure a carrier in KommerceServer.
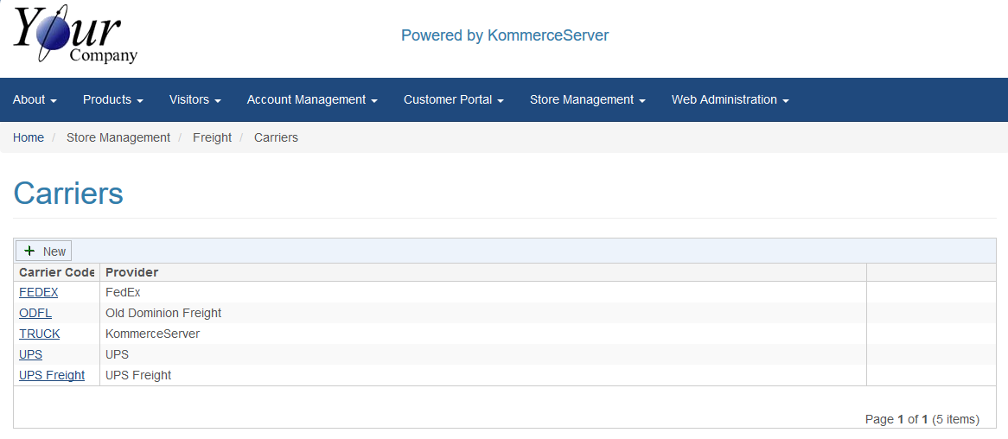
- Navigate to the Carriers page by selecting Store Management>Freight>Carriers. The Carriers page opens.
- Click the New button. The Carrier Definition page opens.
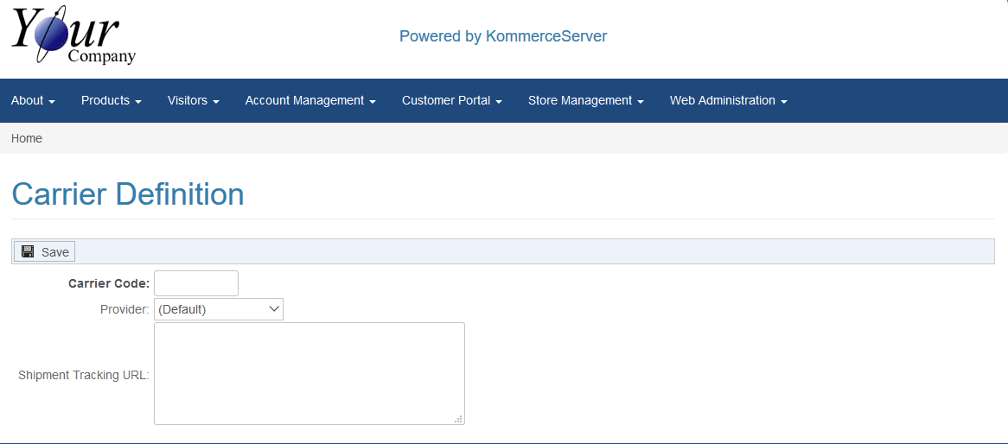
- Enter the carrier code for your shipping carrier in the Carrier Code field. This code should match a carrier code that was sent up from the KS_FREIGHT API.
- Click the Provider drop-down menu and select the shipping provider option that will determine how freight will be calculated. Selecting the KommerceServer or Default option supports the KommerceServer internal freight calculation method.
- If the carrier has a website that can be used to track shipped packages, you can enter the format of the URL along with substitution parameters that will form the link for users to click on in order to track the package.
Following is an example Shipment Tracking URL: http://www.fedex.com/Tracking?action=track&language=english&cntry_code=us&tracknumbers=
- Click the Save button to save your changes.
-
Repeat this process until you have defined all the carriers you will be using.